How To Make A Shield
What you will need:
- A trash bin or trash lid
- A cabinet handle or rope
- Drill or hole puncher
- Two screws, two washers and two nuts (if you are using a cabinet handle which is recommended)
- Heavy duty scissors
Steps:
- Get a trash bin or trash can lid.
- If you can, split the trash bin in half to make two shields.
- Drill or punch two holes, vertically, into you shield with the appropriate distance to fit your cabinet handle. If you are using rope, you can drill a hole approximately six inches from each other near the center of the shield.
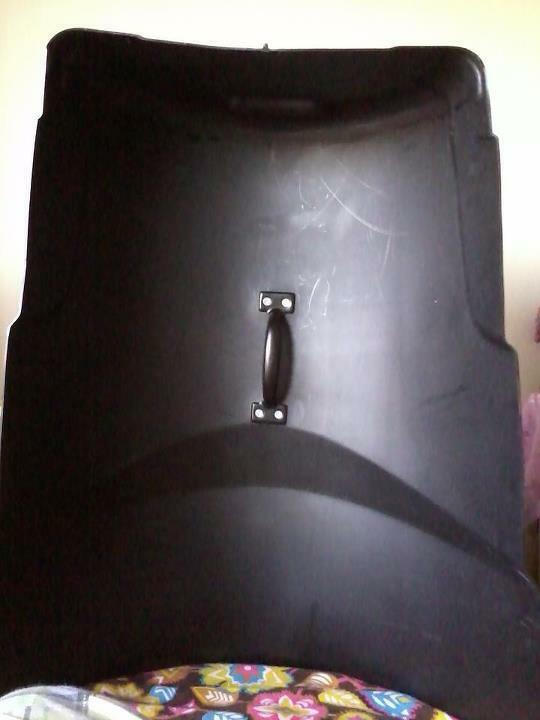
- Place your cabinet handle over the holes, put the screws through it, place the washers on the outside against the plastic and screw the nuts over them. If you using rope, cut a piece 8-12 inches in diameter, place each side into the hole and tie a tight knot. The rope should be tight so that it is easy to maneuver.
- You’re done!
Some people like to spray paint a peace sign or anarchy symbol over their shields. Decorate and customize your shield however you like, get creative. Add a pouch onto your shield to hold items or use a retractable clip so you can put the shield over your shoulder when not in use.
How To Use The Shield:
Shields makes a group look intimidating and militant but they have a purpose. Protest shields are generally used for both defensive and offensive tactics.
Your shield can be used when the group charges at a police line to protect against batons (offensive tactic).
If the police are shooting flash bangs, concussion grenades, rubber bullets, tear gas, bean bags, pepper spray or other ‘less-lethal weapons’, you can get on your knees and place the shield in front of you for protection. This is an example of using your shield defensively:
(The photo above is from the Occupy Oakland march on January 28th. Watch the video)